How to add a post for parents in Twigsee?
With a post, the teacher can share information and photos with parents. Parents can then see clearly in one place what happened at school that day, or how their children interacted whilst on a school trip.
TIP: How to add a poll for parents in Twigsee?
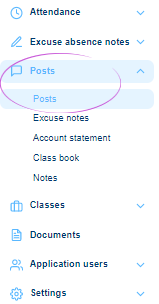
1. Where the Posts section is located
In the main left menu under the Posts tab, select the Posts section.
2. Add a post
Use the green + Add Post button in the top right corner of the Post List window to add a new post.

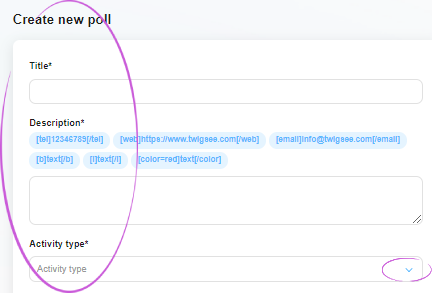
3. Create a post
In the newly opened post details tab, fill in the post title, description and activity type one by one. Activity types are defined and you can expand the list of activity types using the arrow at the end of this field. To select an activity type, click on the specific activity name.
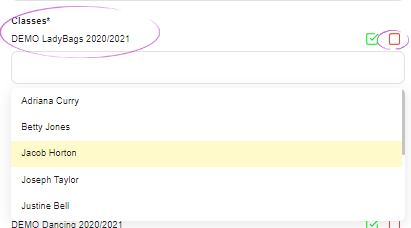
4. Marking children
Next, you need to mark the children to whom the post relates. You can select an entire class by using the green button on the right side of the class row. If you need to select only some of the children, click in the Classes box. A list of children will expand and click to select only the ones you want. In case you select the whole class by mistake, you can easily delete it again using the red button on the right side of the row.
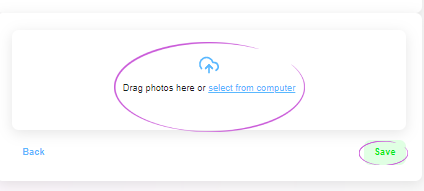
5. Insert photos and save post
The last field of the post tab is used to insert photos. Upload photos to the post and save the entire post using the green Save button.
TIP: Want to add a video to your post?
6. Editing a post
The newly created post will appear in the Post List. If you need to edit the post (add a child, change the text, etc.), you can reopen the post detail and use the blue pencil icon to edit what you need. Save all changes again using the Save button.