How to create classes in administration?
For better organization within the preschool you need to create classes. You then assign the children and the corresponding teacher to the classes. After that, the teacher can easily add posts and important information for the whole class, which will not be displayed to parents whose children do not belong to this class.
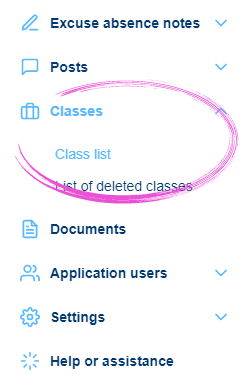
1. Where is the class list located?
In the left main menu, in the Classes tab, select Class List. Click to open the class list window.
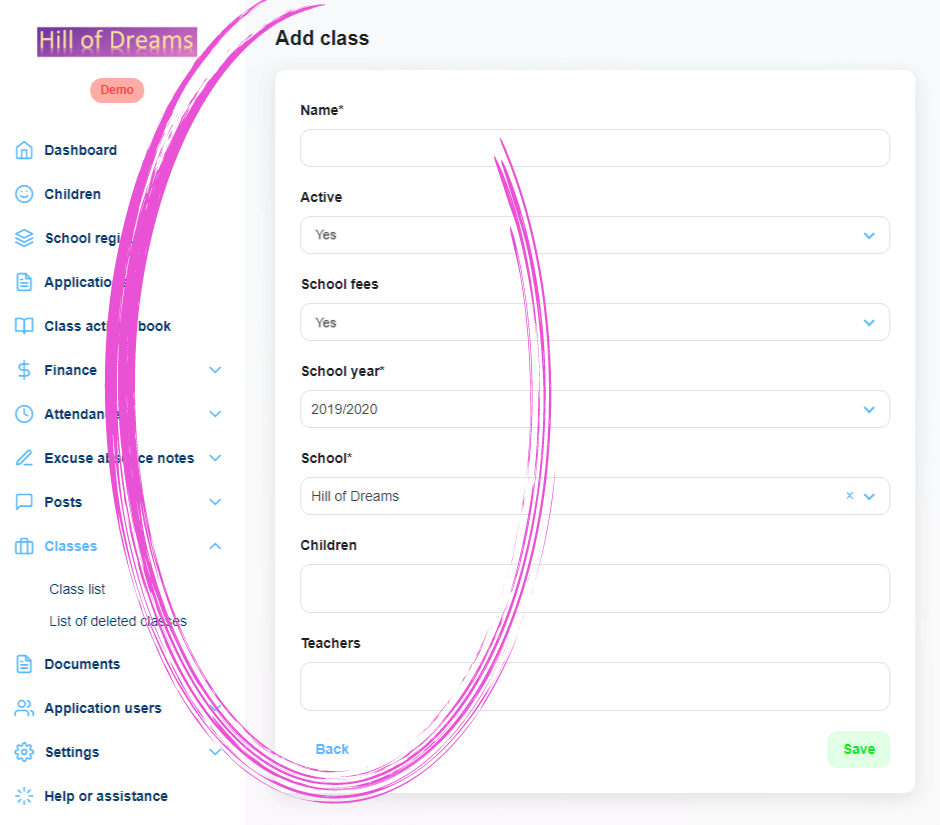
2. Adding a new class
To create a new class, use the green + Add Class button in the upper-right corner.

3. Completing class information
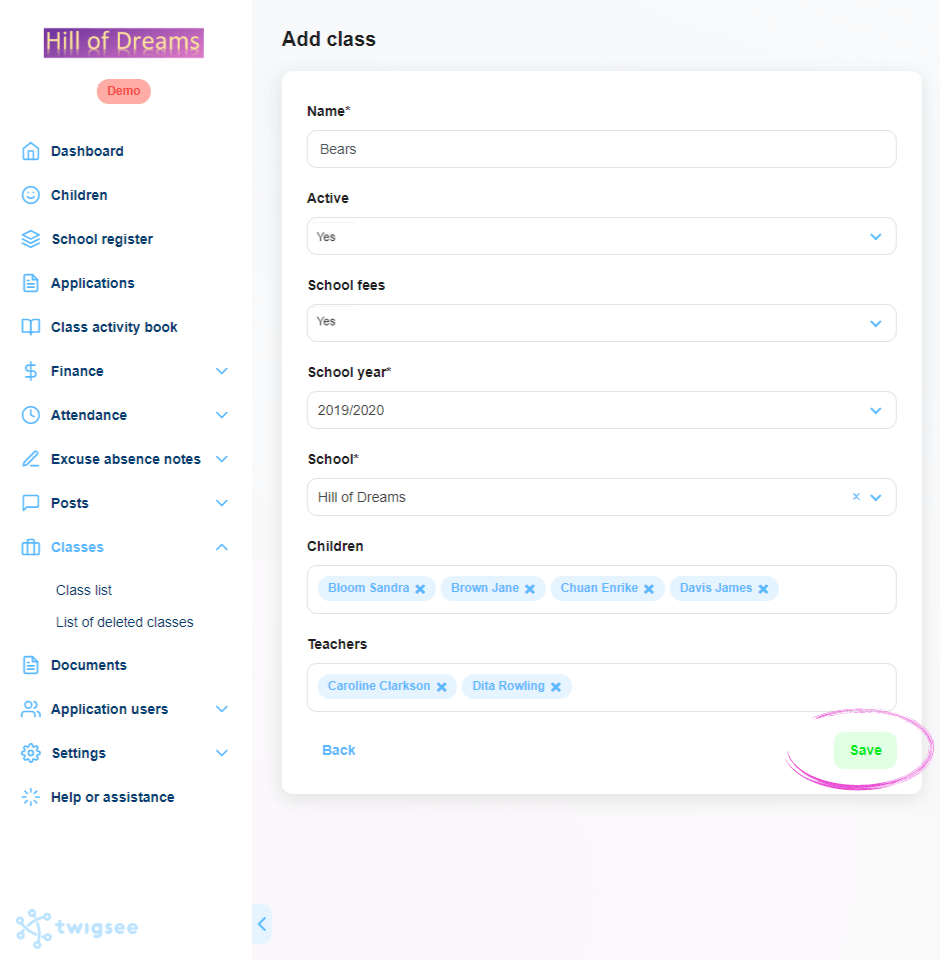
A window opens to enter information about the new class, including the name.
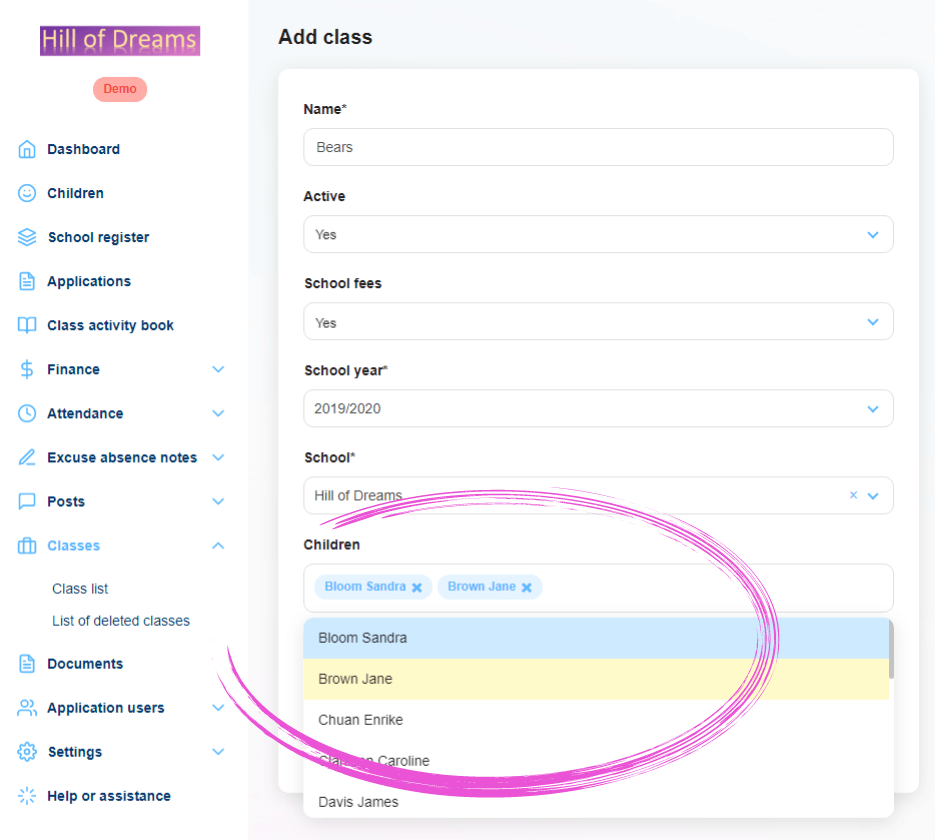
4. Adding children to a newly created class
Clicking in the Children box opens a menu of children entered in the preschool application. To assign specific children to a newly created class, click on the names in the menu.
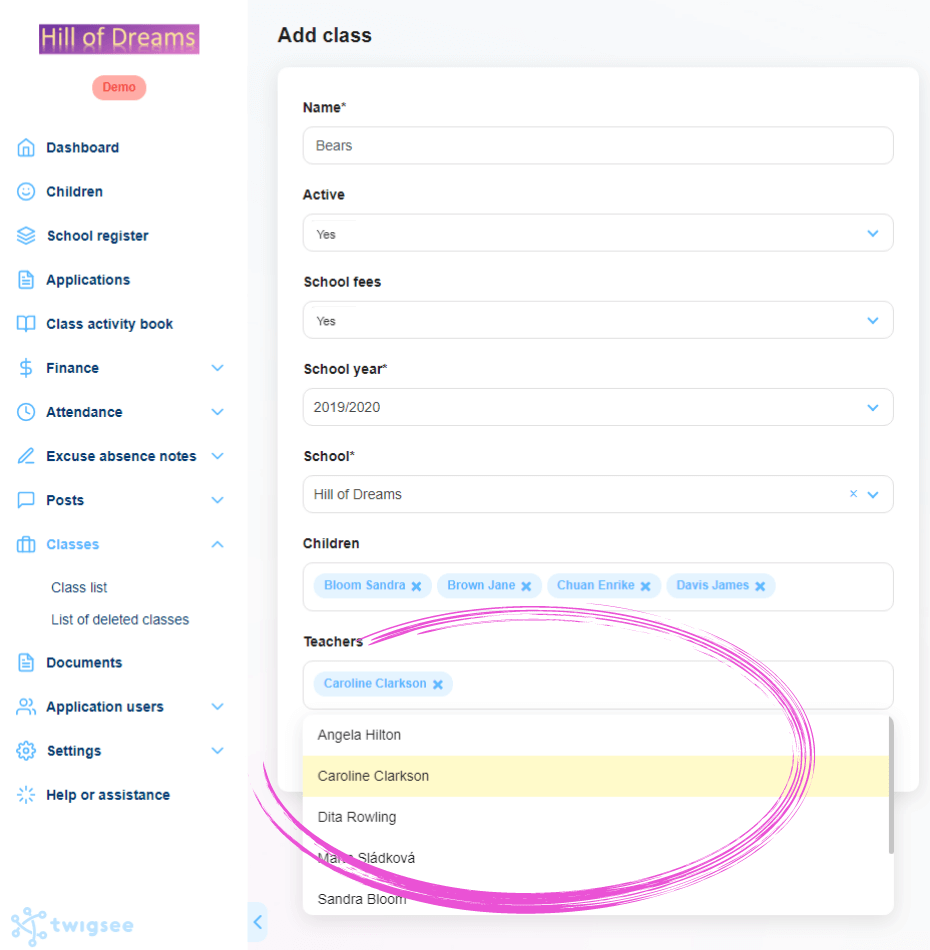
5. Adding teachers to a newly created class
Clicking in the Teachers box expands the menu of teachers specified in the preschool application. To assign specific teachers to a newly created class, click on the names in the menu.
6. Saving a newly created class
To save the newly created class with all information, use the green Save button in the lower-right corner.
7. Class creation
The green-framed pop-up window created informs you of the saving of the newly created class. A new class is now created in the class list.
