How to add a note to a child in Twigsee administration?
The teacher has the possibility to add a note to the child, which is non-public and is purely for internal school needs. A note is technically a post, so it is created in the same way. You only need to define the post as a note by selecting the Note option in the activity types.
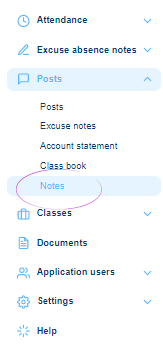
1. Where the Notes section is located
In the main left menu under the Posts tab, select the Notes section.
2. Adding a Note
Use the green Add Post button in the upper right corner of the Notes List window to add a new post – a note.
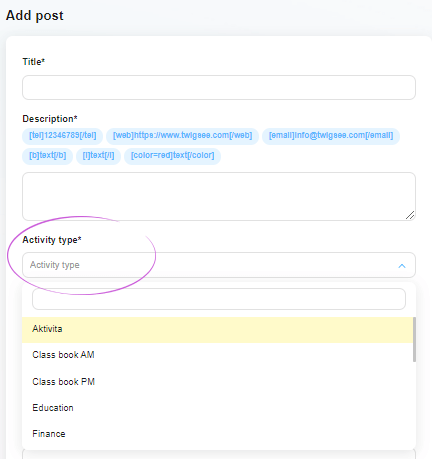
3. Create a post-it note
In the newly opened post details tab, fill in the post title, description and activity type one by one. This is a note, so you must select this activity type. Use the arrow at the end of this field to expand the list of defined activity types. Next click to select the Notes option.
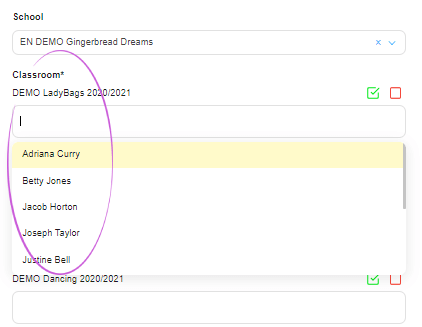
4. Marking the child
Next, you need to mark the child to whom the created note refers. Click in the Classes field. A list of children will expand and click to select only the one you want. In case you select the whole class by mistake, you can easily delete it again using the red button on the right side of the row.
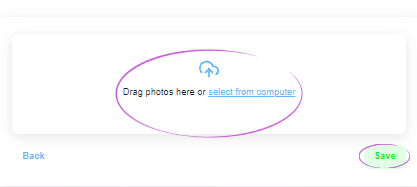
5. Insert photos and save the post
The last field of the post tab is used to insert photos. You can upload photos to the created note and save everything using the green Save button.
6. Editing a note
The newly created note will be displayed in the Post List. If you need to edit the note, you can reopen the post detail and edit what you need via the blue pencil icon. Save all changes again using the Save button.


